Homemade Reese’s Cups with Chocolate Shell
Highlighted under: Home Baking Collection
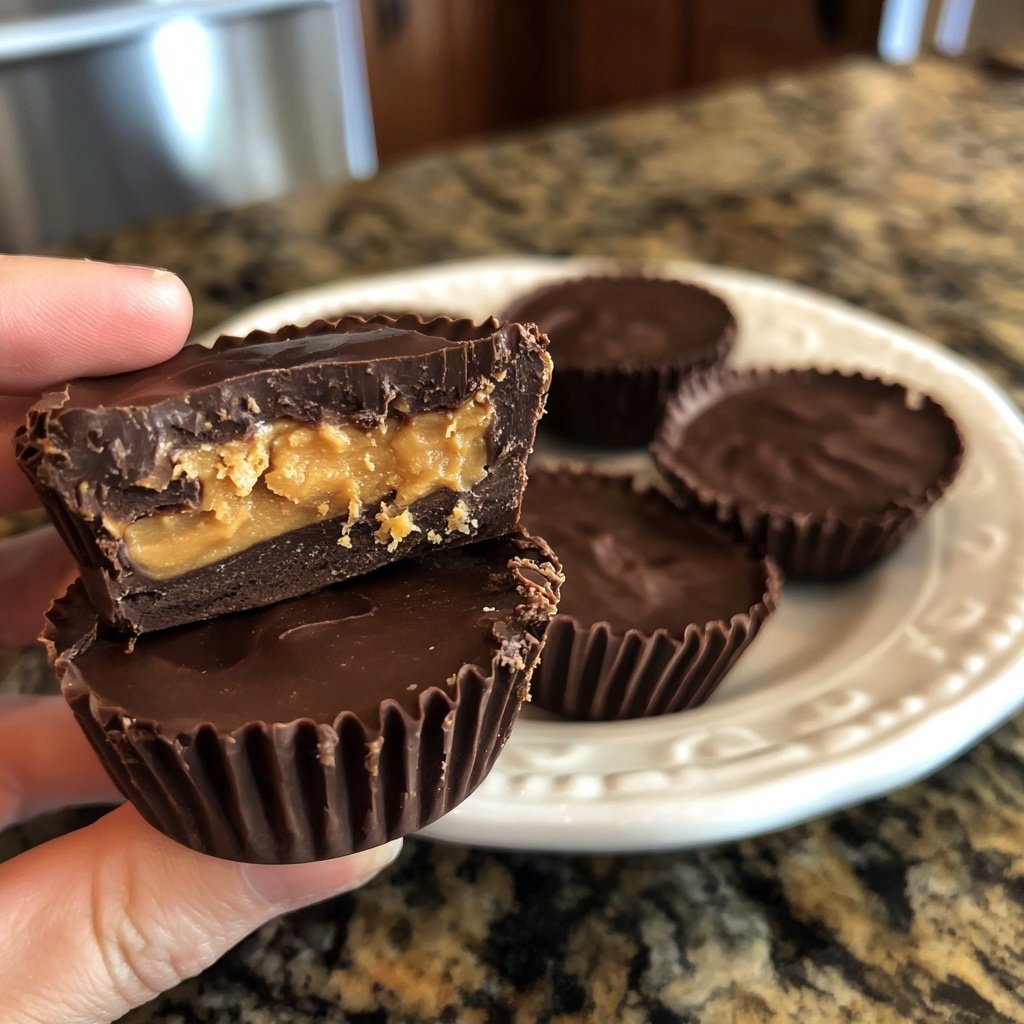
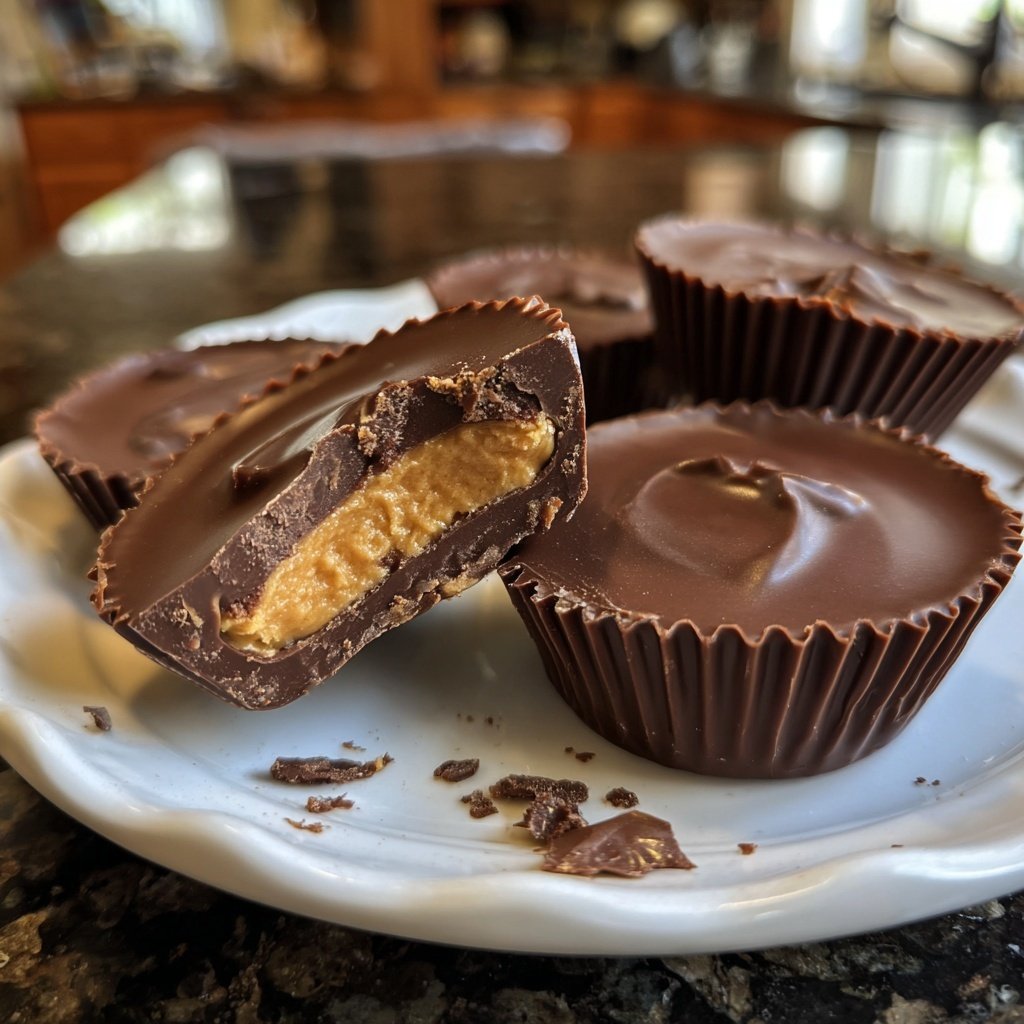
I absolutely love making these Homemade Reese’s Cups with Chocolate Shell because they bring back so many childhood memories while offering a rich chocolate experience. The blend of creamy peanut butter and smooth chocolate creates a harmonious balance of sweet and salty that's simply irresistible. With just a few simple ingredients, I can recreate this beloved treat at home, ensuring they are fresh and customized to my liking. Whether for a special occasion or a late-night snack, these cups are a perfect indulgence that I can whip up anytime.
When I first attempted making these Homemade Reese’s Cups, I was surprised at how easy it turned out to be. I tried various chocolate options, and I found that using high-quality chocolate bars yields the best flavor and texture. Dipping the cups twice in chocolate creates a beautiful shell that holds its shape and provides a delightful crunch.
One of my favorite tips is to let the chocolate cool slightly before pouring it into the molds. This way, it won't melt the peanut butter filling as it sets. The delicious flavor combination of nutty peanut butter and rich chocolate truly makes these cups a must-try for anyone looking to satisfy their sweet tooth.
Why You'll Love This Recipe
- Rich chocolate flavor paired with creamy peanut butter filling
- Perfectly balanced sweetness with a slight salty kick
- Easy to make and customizable for any occasion
Understanding the Chocolate Shell
The chocolate shell is what makes these Homemade Reese’s Cups truly special. By combining semisweet chocolate chips with coconut oil, you create a glossy finish that adds a delightful snap when you take a bite. The coconut oil not only helps the chocolate set properly but also enhances the overall texture and mouthfeel. If you prefer a different flavor, you could substitute the semisweet chocolate with dark chocolate for a more intense taste or even use milk chocolate for a sweeter profile.
When melting the chocolate mixture, be sure to do it gradually in the microwave. Start with 30-second intervals and stir after each interval to avoid scorching the chocolate. The goal is to achieve a smooth, glossy consistency. If the chocolate becomes too thick or grainy, it may have been overheated; a few drops of additional coconut oil can help smooth it out again.
Perfecting the Peanut Butter Filling
The peanut butter filling is designed to be creamy and perfectly sweetened. Using creamy peanut butter ensures that the filling is easy to spoon into the molds, while the powdered sugar acts as the sweetener, providing just the right amount of sweetness to balance the richness of the chocolate. If you want a little texture, consider using chunky peanut butter in place of creamy; just remember it will change the overall consistency of the filling.
It's essential to mix the filling until it's completely smooth. This ensures that there are no grainy pockets of powdered sugar and that the flavors meld beautifully. If you find the mixture is too thick, a splash of milk can be added to achieve the desired consistency. However, be cautious not to make it too runny, as it should hold its form when spooned into the molds.
Storage and Serving Suggestions
These Homemade Reese’s Cups are best enjoyed fresh but can be stored in an airtight container for up to a week at room temperature. If you prefer to keep them longer, refrigerate them for up to two weeks. For even longer storage, you can freeze the cups for up to three months. Just ensure they are well-wrapped to prevent freezer burn. When you’re ready to enjoy them, let them sit at room temperature for a few minutes before biting in for the best texture.
Serving these cups can be fun and creative; they make for great party favors or movie-night snacks. You can drizzle some melted chocolate or sprinkle crushed nuts or sea salt on top right before serving for an extra touch. If you really want to mix things up, consider making a variety by adding ingredients like crushed pretzels or different flavored spreads within the filling for a unique twist.
Ingredients
For the Chocolate Shell
- 1 cup semisweet chocolate chips
- 1 tablespoon coconut oil
For the Peanut Butter Filling
- 1 cup creamy peanut butter
- 1/2 cup powdered sugar
- 1/4 teaspoon salt
Instructions
Steps
Melt the Chocolate
In a microwave-safe bowl, combine the chocolate chips and coconut oil. Microwave in 30-second intervals, stirring in between, until melted and smooth.
Prepare the Molds
Spoon a small amount of melted chocolate into each cup of a muffin tin lined with cupcake liners. Use a brush or the back of the spoon to spread it up the sides. Place in the freezer to set for about 10 minutes.
Make the Filling
In a mixing bowl, stir together peanut butter, powdered sugar, and salt until smooth. Remove the molds from the freezer.
Fill with Peanut Butter
Add a spoonful of the peanut butter mixture to each mold, leaving a little room at the top. Pour more melted chocolate on top to cover the filling completely.
Chill and Serve
Return the molds to the freezer for another 10-15 minutes until the chocolate has hardened. Once set, remove the cups from the liners and enjoy!
Enjoy!
Pro Tips
- For added flavor, consider sprinkling a bit of sea salt on top before the chocolate sets. You can also experiment with dark chocolate or even white chocolate for a different experience.
Possible Variations
While the classic combination of chocolate and peanut butter is beloved, there's a world of flavors to explore. Try substituting almond or cashew butter for the peanut butter to create a new filling that caters to different tastes. For a healthier option, you can use a natural nut butter that contains no added sugars. Furthermore, mixing in a bit of vanilla extract or a pinch of cinnamon to the filling can elevate the flavor profile even further.
If you want to incorporate some of your favorite candy bars, consider adding crushed pieces into the peanut butter layer before topping with chocolate. This can create delightful surprises within the cups, combining flavors and textures that will please any sweet tooth.
Troubleshooting Tips
If your chocolate shell isn't setting properly, it could be due to the ratio of chocolate to coconut oil being off. Make sure to follow the measurements carefully. If the chocolate seems too thick after melting, adding a little extra coconut oil can solve the problem. On the other hand, if it’s too runny, it may need a bit more chocolate to achieve the right dipping consistency.
Another common issue users face is filling spillage, which can happen when adding the peanut butter filling. To avoid this, make sure not to overfill the molds and create a small indent on top before adding the chocolate. This helps keep the filling neatly tucked away and ensures a clean finish.
Questions About Recipes
→ Can I use crunchy peanut butter instead of creamy?
Yes, using crunchy peanut butter will add a delightful texture to the filling.
→ What can I use instead of coconut oil?
You can use vegetable oil or butter, but coconut oil gives the best results.
→ How long can I store these cups?
They can last in an airtight container at room temperature for about a week or in the refrigerator for up to two weeks.
→ Can I freeze them?
Yes, you can freeze them for up to three months. Just make sure to wrap them well.
Homemade Reese’s Cups with Chocolate Shell
Created by: Emily Carter
Recipe Type: Home Baking Collection
Skill Level: Easy
Final Quantity: 12 cups
What You'll Need
For the Chocolate Shell
- 1 cup semisweet chocolate chips
- 1 tablespoon coconut oil
For the Peanut Butter Filling
- 1 cup creamy peanut butter
- 1/2 cup powdered sugar
- 1/4 teaspoon salt
How-To Steps
In a microwave-safe bowl, combine the chocolate chips and coconut oil. Microwave in 30-second intervals, stirring in between, until melted and smooth.
Spoon a small amount of melted chocolate into each cup of a muffin tin lined with cupcake liners. Use a brush or the back of the spoon to spread it up the sides. Place in the freezer to set for about 10 minutes.
In a mixing bowl, stir together peanut butter, powdered sugar, and salt until smooth. Remove the molds from the freezer.
Add a spoonful of the peanut butter mixture to each mold, leaving a little room at the top. Pour more melted chocolate on top to cover the filling completely.
Return the molds to the freezer for another 10-15 minutes until the chocolate has hardened. Once set, remove the cups from the liners and enjoy!
Extra Tips
- For added flavor, consider sprinkling a bit of sea salt on top before the chocolate sets. You can also experiment with dark chocolate or even white chocolate for a different experience.
Nutritional Breakdown (Per Serving)
- Calories: 180 kcal
- Total Fat: 12g
- Saturated Fat: 3g
- Cholesterol: 0mg
- Sodium: 50mg
- Total Carbohydrates: 16g
- Dietary Fiber: 1g
- Sugars: 8g
- Protein: 4g